One of the things I believe in above all is that everyone should know how to grow their own food.
Waking up to a whole new batch of food that you grew yourself is an incredible feeling. I know everyone thinks gardening is for old ladies who just want to burn time, but there are few things that provide a sense of self-reliance quite like gardening. The apocalypse is probably not going to happen any time soon, much to the dismay of zombie fans, but if it did, the ability to survive is dependent on the ability to grow food.
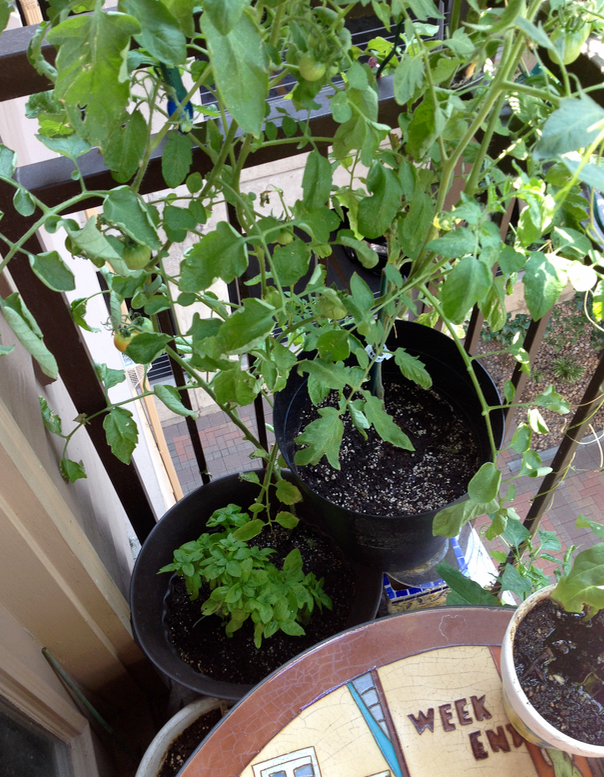
My little patio is simply:
- Width: 85 inches
- Height: 43 inches
- Depth: 22 inches
And so far this year I have:
- Over 20 flower plants
- 1 mint plant
- 1 strawberry plant
- 4 basil plants
- 2 pepper plants (one of the also might be a jalapeño, waiting to see)
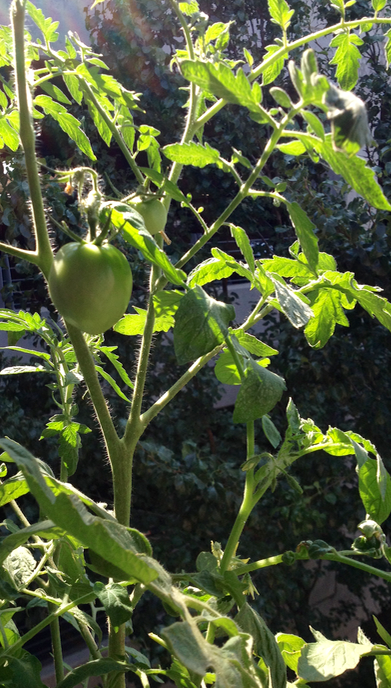
- 7 tomato plants
Some pictures:
Of course, there are a ton of other gardeners who really mastered gardening in small spaces, but with my limited budget (Less than $50), I wanted to keep things as simple as possible.
For anyone who wants to build a patio garden, here are my steps:
1. Determine your climate
A chart like: THIS generally helps. That’s a good guide to determine what will grow and survive in your area. However, if you have a greenhouse or want to put plants on your windowsill, you might be able to grow more than your chart shows.
2. Get some seed starter packs
For years, I have owned little seed starters that look like this:
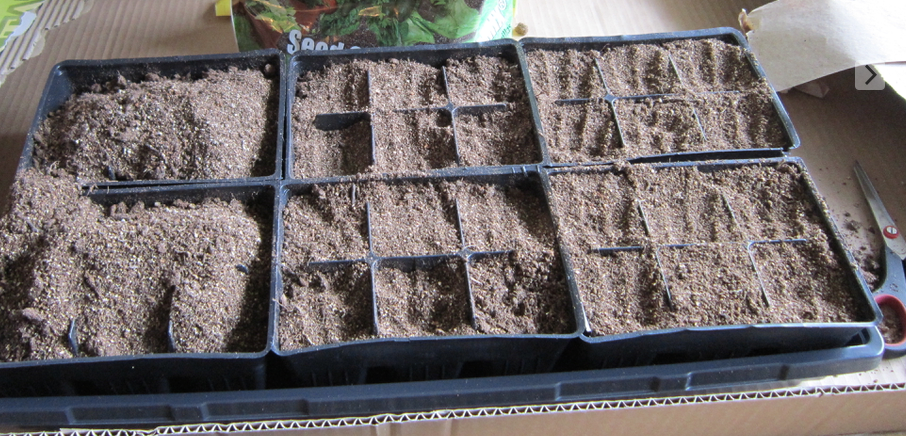
These also usually have little plastic covers so they stay warm.
3. Plan out your space
Some plants need a significant amount of space in order to grow. Some just need a small windowsill. It’s best to Google what specific plants look like when they’re full grown to see if you have the space needed.
Take a list of all the herbs, veggies, etc. that you personally enjoy to eat. There are thousands of varieties to choose from, so let yourself dream a bit.
There are some people who prefer to start out small, with just one to three varieties and see how it goes. That’s great, too!
4. Order some seeds
Most grocery stores have a wide selection of seed packages you can buy, I have been loyal to Johnny’s Seeds since I was a young child.
It was on my Christmas list when I was in middle school to order seeds. Back then, there was no online ordering, so we had to call to order. My mother explained to them that I randomly picked up a gardening habit in 7th grade (true story), heard that they were the best, and wanted to order a few packets.
Someone at the company obviously heard my story, and they included a free book about cool gardening projects for families.
Needless to say, that small act has made me a lifetime customer.
If you want, you can order a free catalog off their website: HERE. (Not an affiliate link, I just really like their company.)
I like to go through every winter, earmark each page, and plan out what I am going to grow in the spring.
5. Read the packets and put the seeds in the little starter
Some seeds require watering, a certain depth, to be soaked first, etc., before growing. Be sure to read the back of the packet to know exactly what to do.
As they grow, water them gently. A common problem is being overly aggressive with the watering, which actually ends up drowning the little seedlings.
I actually use a spray bottle with the setting on light misting.
That is really just the basics! Some seeds won’t make it, some will grow great. Developing a green thumb is just a matter of trial and error for the most part. Even if you haven’t ever grown your own garden before, I promise it’s a simple process once you get the hang of it!
If you would like more posts like this, please subscribe! You’ll get posts like this and other tips on how to live a self-sufficient life delivered right to your inbox.


Pingback: Earth Month 2016 Celebration Ideas | Let the World Grow